My New Happy Place!
I guess it's not really new since it was set up a few months ago...but here goes!
My goal was not just to have a larger space to create in, but to FINALLY be able to walk around my cutting table!
I am Sew happy in my new happy place!

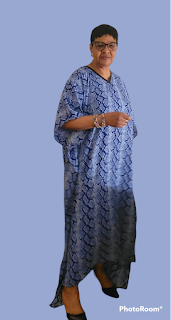
This is the entry...one of my client's garments is hanging on the door - ready for pick up.

I decided to have a small ironing station above the ironing board (the board is not shown here) but it is now permanently up - no more putting it away. Yaaay! The "station" is just the right size to hold my iron, clapper, hams and bias tape maker. The clipboard holds notes about current and repeat projects - and a few of those ideas rolling around in my head.
The closet door is "dressed" with a 6 yard piece of knit fabric that may become the pattern that's attached to it. I've had that piece since spring and have changed my mind many times about what to create with it. That's just part of the creative process, right? LOL!

Window #1 - I love my sewing themed curtains - sew fun to make! Check out my Zipper Board! Can you believe that I had to buy 3 zippers a few weeks ago for a project! I just did not have the right color for my projects!

A full view of my zippers and cutting table! The table is actually a 7 drawer dresser with a slab of commercial grade desktop on top. The slab measures 30x66 - perfect for those 60 inch wide fabrics as well as giant quilts.
It really is sew, sew nice to be able to walk around my table!

Can you see my serger peaking out? It's a Juki MO1000 - she's a workhorse. And for the 1st time, I have pegboards in my space. This one holds my rulers and 2/3 of my scissors. Yes! There are more scissors hidden in a drawer! Shhhh! That bag of zippers on the pegboard are some of my invisible zippers that I have not yet sorted.

Full view of my sewing station...serger, sewing machine (Juki F400), more storage and shelving. That shelf has been filled with sewing books and magazines since the photos were taken. My chair back (which I think I should embroider) is filled with manuals of the 3 machines set up here. Other machine manuals (I'm not saying how many) are in the black magazine racks on the shelf.
Does anyone recognize that fabric by my dress form! LOL!

Window # 2 - it is south facing - I get sew much light from this window!
My dress form is awaiting a few more steps to her full restoration, but she's loving the scarf I draped over her!

This is my embroidery station. Stabilizer is in a large basket...OK, OK, one roll is on the floor! 😄The red cubes hold embroidery supplies and commercial patterns. I might add one more storage cube under the pegboard. My own patterns are currently on the back of the door leading into the room (I forgot to take a picture). The multi-color cubes hold fabric scraps, including denim, leather and fleece. And my other pegboard holds my hoops and embroidery scissors. I love my little fold up stool...from Walmart. But I no longer need to fold it up!
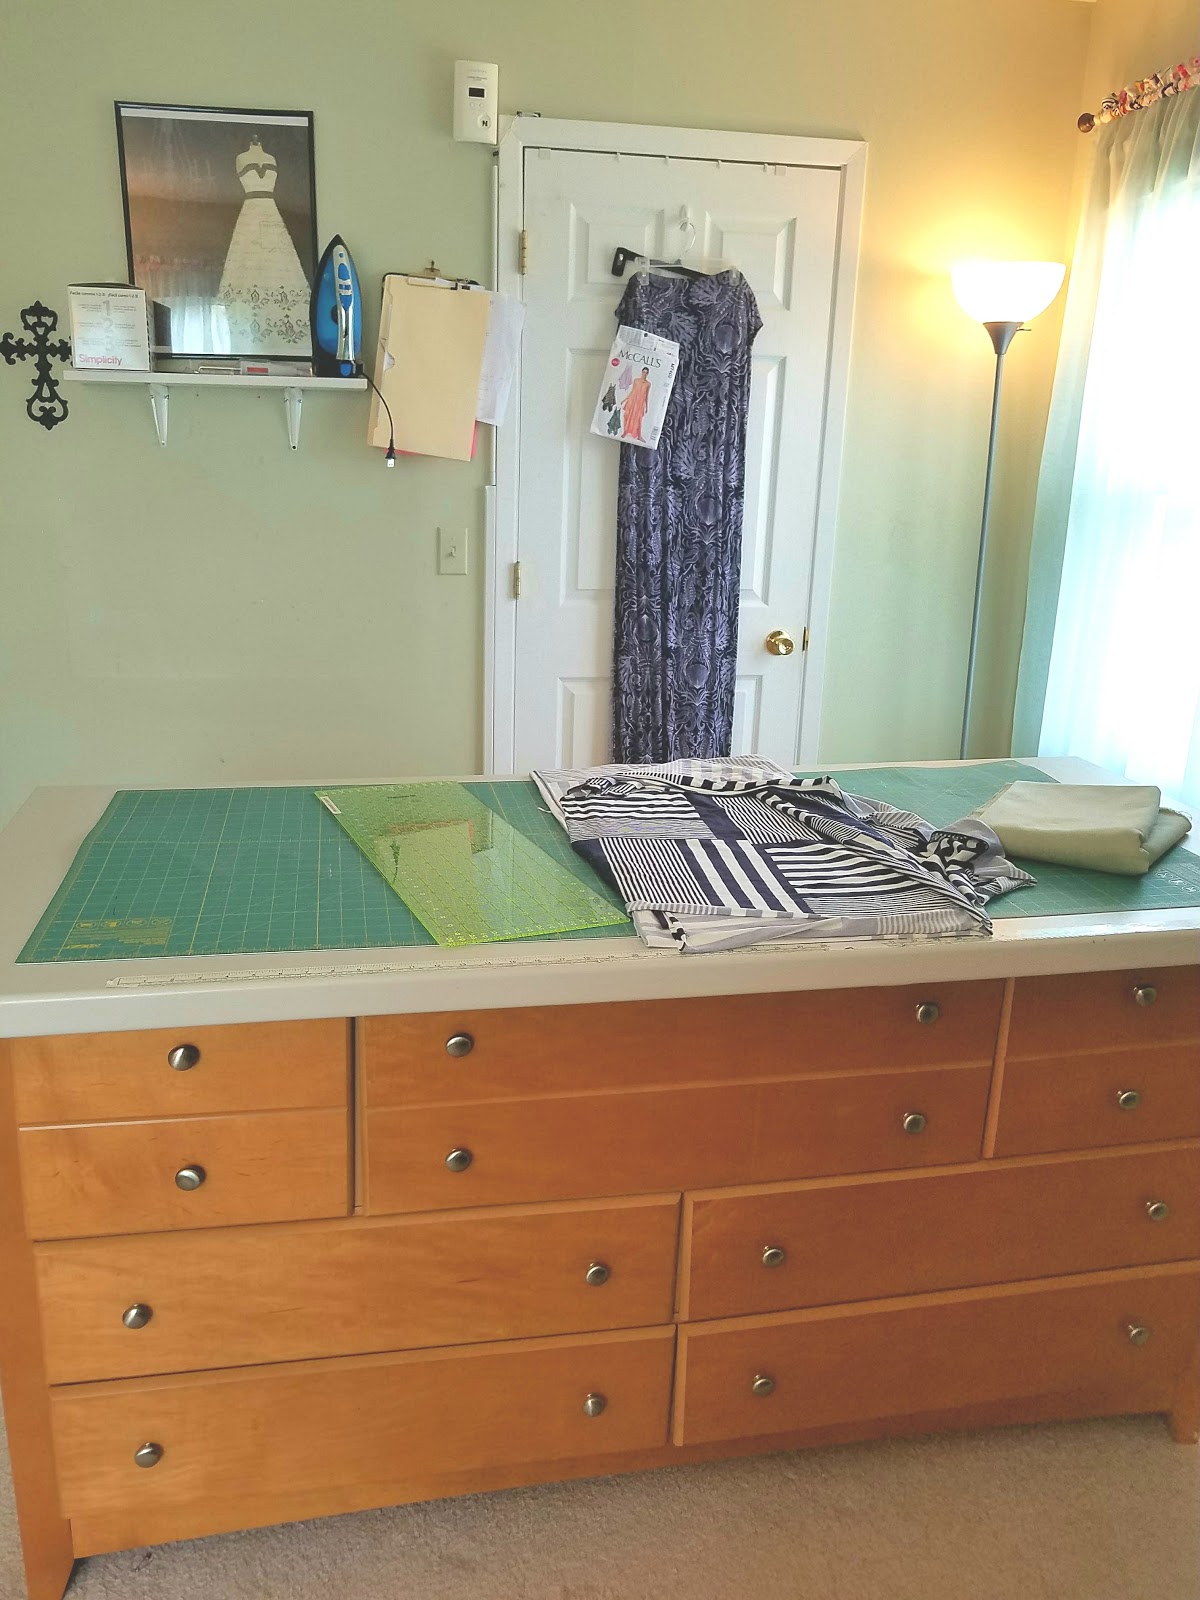
Here's a front view of my cutting table. The drawers are filled with a few current projects and a lot of 100% cotton fabric. I'm planning to add two more cube storage tables to the other side of the table - yep...I've measured - there is plenty of room on the other side for more storage.

As you can see, the commercial desktop is centered over the dresser, but when I add the storage cubes, it will be fully supported. Nope, I have not secured it to the dresser. Yes, it moves if you lean on it. So until I get those cubes, beware if you enter...no leaning!
Besides the storage cubes, I plan to add a bit more artwork. I've stitched a few sewing phrases from my friends, Rhonda at A Stitch in Time Designs https://astitchintimedesigns.com/ and Reen at Embroidery Gardens http://www.embroiderygarden.com/shop/ that need to be framed so that they can grace my walls..
I hope you enjoyed checking out my space. Can I call it my Studio? 😁
Please feel free to leave comments or questions below!