Showing posts with label alterations. Show all posts

Sunday, March 28, 2021

It's the Sleeves for Me

This post may contain affiliate links. This means that if you click through and make a purchase from these links, I may earn a small commission at no extra cost to you.

Sleeve Replacement!


My client asked me if I could "patch" the sleeves on his leather jacket. I told him I'd take a look at it.

When I saw it, I told him 2 things:

1. It was not leather - it was faux leather (really vinyl)

2. The sleeves needed to be replaced entirely!

He gave me creative license - and I was able to find this cool faux leather. I liked it so much that I bought enough for another project for myself!

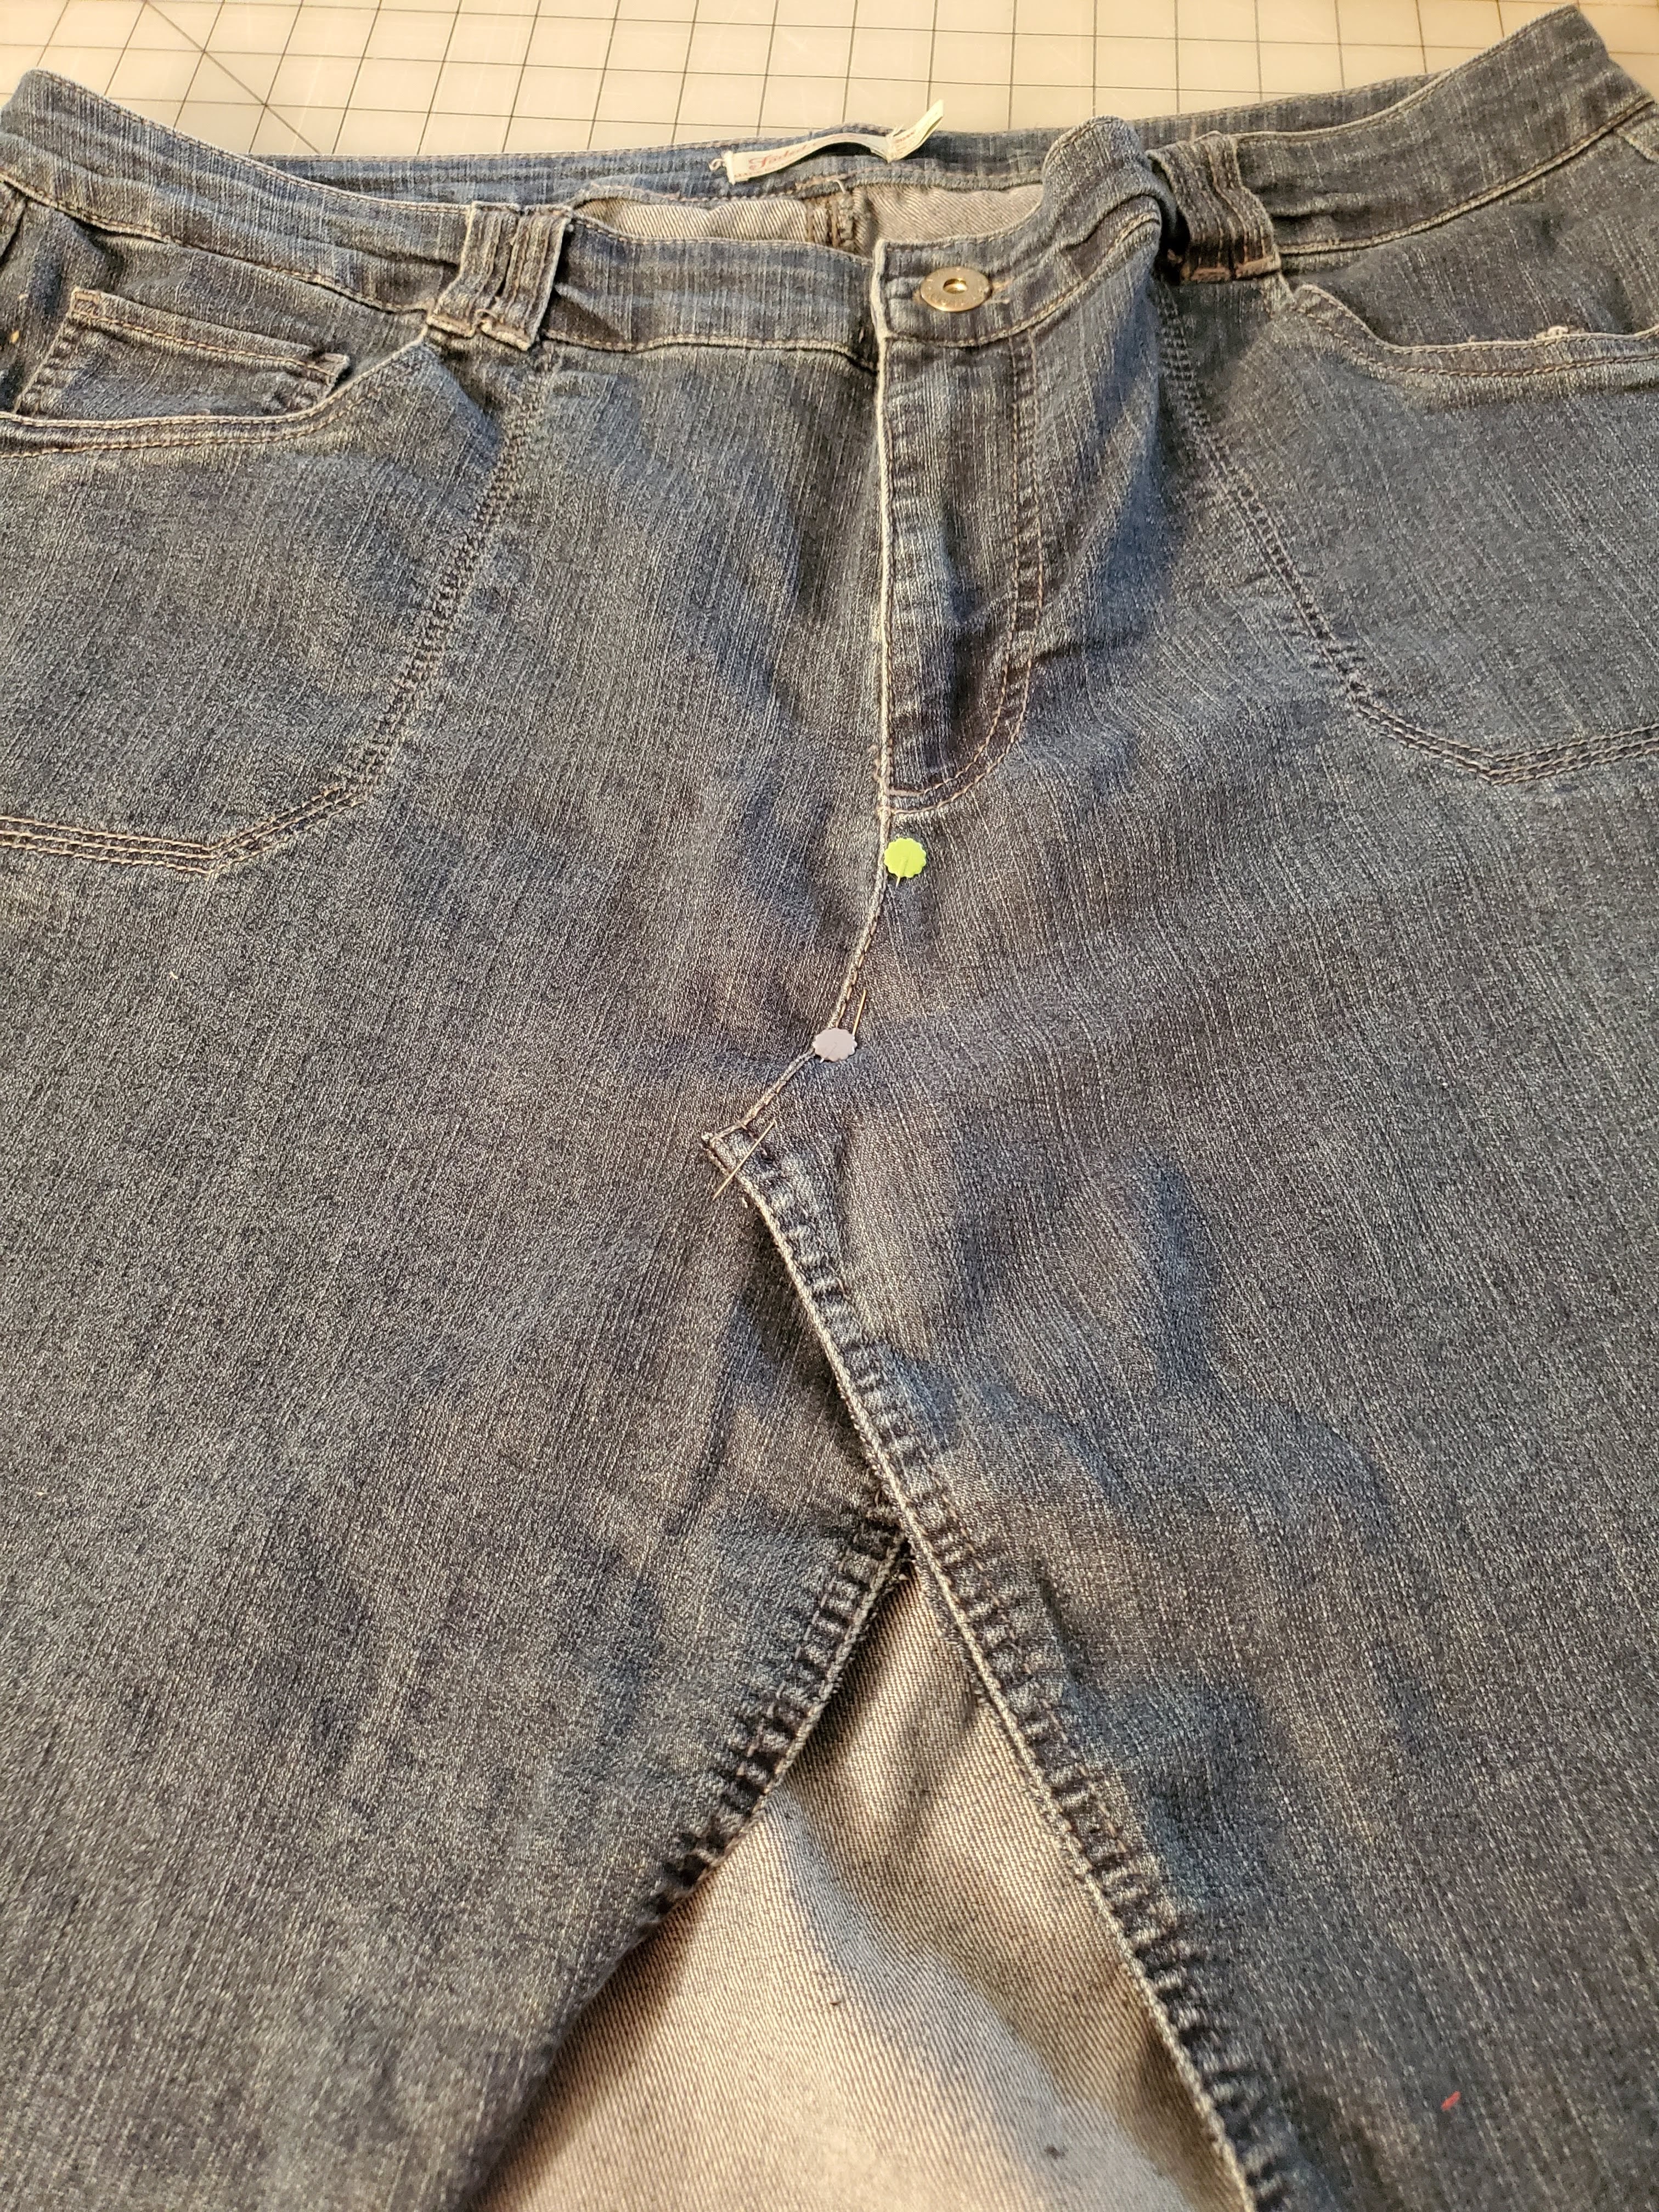
I removed the sleeves by accessing the interior through this opening. The jacket is a size small - so even though the other sleeve lining did not have this same access, I created one with my seam ripper to make the process easier.

After removing the sleeves, I carefully traced around them onto the fabric. I'd considered

making a paper pattern, then realized I wouldn't need or use it again.

So on with the tracing I went!

The sleeve is a 2 piece curved sleeve. The curve had been edge stitched, but I decided to top-stitch it. I'm so glad that I did, because the results added a great looking detail!


I used my roller presser foot, a 80/12 Schmetz needle and a 2.8 stitch length. Because the fabric is a lightweight faux leather, there was no need to use a leather needle.

After sewing the sleeves together, I added them to the jacket. Using the clips was great - pins would have left holes in the faux leather. 

Remember, I was working through those lining opening, so I had to do a bit of twists and turns to attach them.


I then pulled the sleeves through the opening and 
sewed the cuff and lining together...more twists and turns. Then I pressed them with a presscloth and my clapper.


After the jacket was complete...and after triple 
checking my work, I closed the lining openings with edge stitching.


I dropped the jacket off and loved seeing the smile on my customer's face.

He noticed the topstitching first!

He owns a hair salon and showed the jacket off to his wife and a few of his clients!

 There was some serious ohhhing and ahhhing going on!

Happy customers make me happy!


What kind of alterations or repairs have you done? Let me know in the comments!


Saturday, August 15, 2020

Re-Fashioning!

This post may contain affiliate links. This means that if you click through and make a purchase from these links, I may earn a small commission at no extra cost to you. 

Wow!  

It's been much too long since I did a blog post.  I've been in mask making mode, but now I have a bit more time to sew for myself.

I've been attending our outdoor services at my church and because of the heat, I wanted to be comfortable (don't we all).  Maxi and high/low dresses work...but can still be hot.  

And since I don't wear shorts, I thought a few skirts might be in order.  But alas, I haven't fabric shopped since November...what could I use from my stash?  

I took a look, but decided I didn't want to use my stash for casual skirts.  So I chucked the whole idea!


Then...one day I accidentally wore a pair of jeans that were much too large and I had to fiddle with them for several hours!  When I got home, I decided to carefully arrange my jeans so that wouldn't happen again...ever!

  While doing so I discovered a few pair of denim capris that were even larger than the jeans!  

That was my AHA moment!  Skirts...make some really casual, fun skirts with the capris!

So...they went from this:


To this:


I'm sew happy with them!

I started by determining the length I wanted and cut it about 2 inches longer.  That allowed me to shorten the front to the length I wanted and to leave the back a bit longer...since I was not actually constructing a garment and could not do a full butt adjustment!  Yes, there is such a thing!  LOL!


I then cut the front and back inseams open.  I laid the capris flat on the table and crossed them over each leg.  This took a bit of double checking where they crossed, so I wouldn't have a pucker or point at the intersection.

My next step was to sew those seams flat and cut away the excess from the inside.


Then I adjusted the side seam to fit my hips! This must be done prior to hemming the skirt!


Because the over laid seams determined the size of the splits in the front and back, I then needed to decide how to best cover them.  
I thought of a piece of lace I've had for more than 20 years!  I'd never decided what to do with it and was sew glad that I hadn't given it away.  
When I checked, it was the perfect size for the front and back of the skirt...without making it look formal.


I used Wonder Tape to temporarily hold the lace in place, so that I could stitch it down and cut the excess away.
Note: Because of the lace attachment, I hemmed the skirt before attaching the lace.


I love how this lace works so well with the denim!  Fun!


I actually followed the same process for this khaki skirt! It was larger, so the front and back pieces crossed over enough that I did not need an insert.  

Of course I couldn't resist wearing my leopard print shoes...even if it was just for pics! 
And yes! A matching mask!

Matching mask and bag!  
It's one of my favorite bags to make!
  It's a quick make and the multiple sizes make it such a useful bag!


These skirts are such fun, easy and fast projects!  

I have 2 more in mind!  Maybe one will be a maxi or high/low skirt!

What are you re-fashioning or up-cycling?


Don't want to miss a blog post? Sign up for email notices.


Thursday, December 19, 2019

Denim Jacket Refashion

This post may contain affiliate links. This means that if you click through and make a purchase from these links, I may earn a small commission at no extra cost to you.

Hmmm! 
Somehow I missed posting this jacket before now!
But here we go!


 I had this idea in my head to refashion a denim jacket for over a year. But believe it or not, I couldn't find the perfect denim jacket...because I wanted it to be from a resale store.


Well, I finally found one at Salvation Army for $6.99! And it already had stones on the collar! Oh, the bling! I almost did a happy dance in the store.

  Sorry, no "before" pics, but you can see the stones on the collar!


I altered it just a bit, because it was a bit too big and the princess seams were not hitting correctly across my bust.  

My alterations were a bit tricky and only done on the front of the jacket...not the side seams as that would have pulled the front seams even farther from my bust.


 I then embroidered the back with a sewing themed design from embroiderylibrary.com.


Then I remembered that I had some "fusible" strips of bling that I'd purchased at the Houston International Quilt Festival in 2018.

I added it above and below the design.


 For these photos, I styled it with my well worn, well loved self-drafted cold shoulder hi/low top made with fabric from Vogue Fabrics!


I was a happy camper! 
So much so that I took it with me to wear at the Quilt Festival this year!


 Then the mishap!

At some point I noticed that the bling was coming off!

Yikes!

 What to do?


Well, of course there are sewing machines all over the Festival. 
And because we were under the AllBrands booth where the Brother Machines were being demoed and sold, I ran over to a machine and carefully stitched the strips down. 

My goal was to stitch them without breaking a needle!
Whew!

Yep, Reen from Embroidery Garden snapped this pic of me sewing away! 
Lol! 


Those strips won't be coming off ever again!


I love this jacket, which started with just a bit of bling, but has now been completely transformed. ❤


It's cold here now, but I can't wait until spring to wear it again! 


Have you refashioned or upcycled a denim jacket or pants?


Happy Endless Sewing!


Don't want to miss a blog post? Sign up for email notices.

Let's Make and Wear a Kaftan

This post may contain affiliate links. This means that if you click through and make a purchase from these links, I may earn a small commiss...