Showing posts with label hi/low top. Show all posts

Thursday, December 19, 2019

Denim Jacket Refashion

This post may contain affiliate links. This means that if you click through and make a purchase from these links, I may earn a small commission at no extra cost to you.

Hmmm! 
Somehow I missed posting this jacket before now!
But here we go!


 I had this idea in my head to refashion a denim jacket for over a year. But believe it or not, I couldn't find the perfect denim jacket...because I wanted it to be from a resale store.


Well, I finally found one at Salvation Army for $6.99! And it already had stones on the collar! Oh, the bling! I almost did a happy dance in the store.

  Sorry, no "before" pics, but you can see the stones on the collar!


I altered it just a bit, because it was a bit too big and the princess seams were not hitting correctly across my bust.  

My alterations were a bit tricky and only done on the front of the jacket...not the side seams as that would have pulled the front seams even farther from my bust.


 I then embroidered the back with a sewing themed design from embroiderylibrary.com.


Then I remembered that I had some "fusible" strips of bling that I'd purchased at the Houston International Quilt Festival in 2018.

I added it above and below the design.


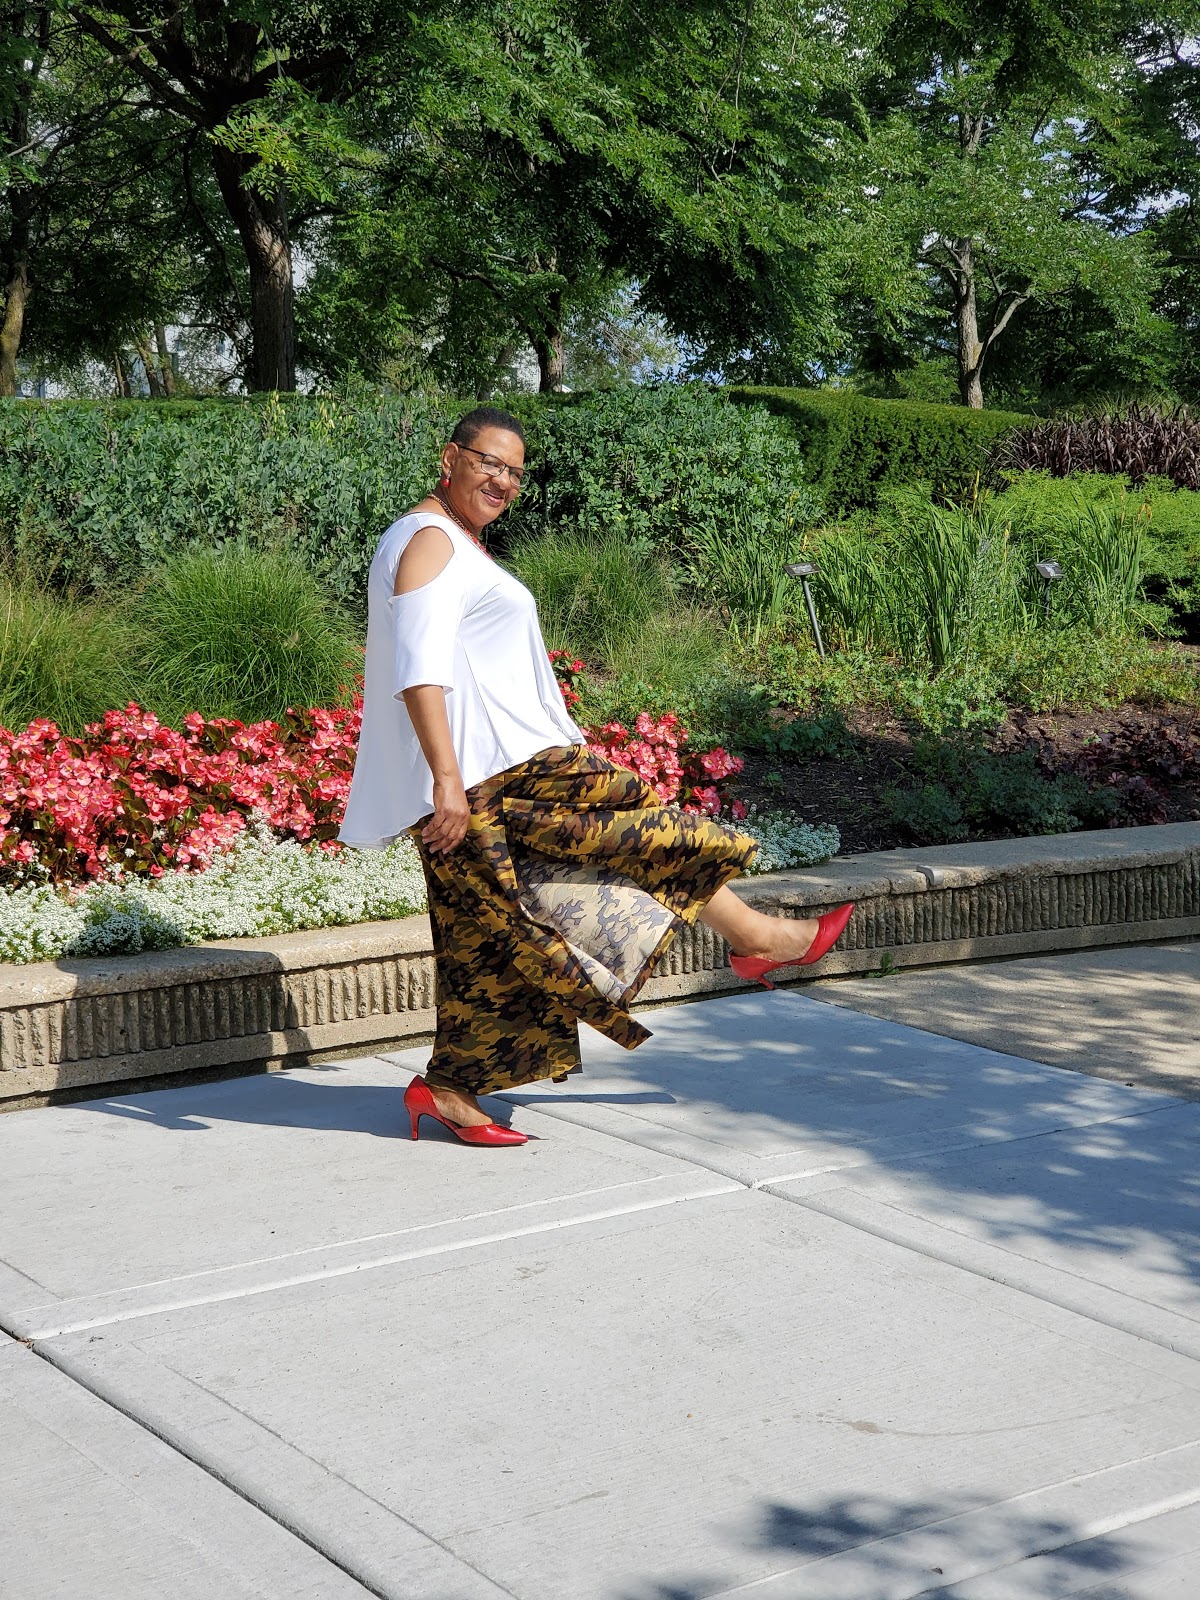
 For these photos, I styled it with my well worn, well loved self-drafted cold shoulder hi/low top made with fabric from Vogue Fabrics!


I was a happy camper! 
So much so that I took it with me to wear at the Quilt Festival this year!


 Then the mishap!

At some point I noticed that the bling was coming off!

Yikes!

 What to do?


Well, of course there are sewing machines all over the Festival. 
And because we were under the AllBrands booth where the Brother Machines were being demoed and sold, I ran over to a machine and carefully stitched the strips down. 

My goal was to stitch them without breaking a needle!
Whew!

Yep, Reen from Embroidery Garden snapped this pic of me sewing away! 
Lol! 


Those strips won't be coming off ever again!


I love this jacket, which started with just a bit of bling, but has now been completely transformed. ❤


It's cold here now, but I can't wait until spring to wear it again! 


Have you refashioned or upcycled a denim jacket or pants?


Happy Endless Sewing!


Don't want to miss a blog post? Sign up for email notices.

Tuesday, August 6, 2019

Wrap Pants - Camo Style

This post may contain affiliate links. This means that if you click through and make a purchase from these links, I may earn a small commission at no extra cost to you.

These camo print wrap pants - yes pants - were sew much fun to make
and even more fun to wear! 

They feel like a maxi skirt and secret pajamas all at once!

I'm in love!

💓💓💓


And I love it with my self drafted cold-shoulder hi/low top!

y

There are many video tutorials out there for these wrap pants. 
But, I chose the You Tube tutorial by my sewsister, Tree - of Stiitchless TV. 
Click here for her video.

 These pants are truly zero waste! Your scraps become the ties!


To wear them you tie the front 1st, then pull up the back and tie again.  
Of course you can use buttons, snaps or even hook and loop tape to fasten your pants, but for those times we need a bit more room in the waist, believe me - ties are better! 


There is only one seam - the crotch seam - just one!  
Of course I used my serger on this lightweight knit fabric.
Chiffons, challis, linen blends, cotton, rayon and medium weight knits will work as well.

The sides and bottom only need a narrow hem.  I'd suggest that you hem the bottom 1st (as Tree discovered).

I had to put my label in as soon as I stitched the crotch seam, because I didn't use notches yikes). 

And even though my front crotch is smaller than my back crotch (go figure) I would not have known the front from the back once they were stitched together!  LOL!


Once the bottom and sides were hemmed, I added the waistband - which included the ties.  I pressed the band in half lengthwise - to prevent crazy shifting.
I centered the waistband on the front and stitched it from side to side. 
I then sewed the ties from one side to the other, turning under as I sewed. 
I repeated the same steps for the back.


I made a cotton muslin (woven) first.  
As suspected, it opened on the side from the hip down when I walked.
Flashing is not good!  Hahahaha!

But the lightweight knit worked sew much better - the sides only opened from just below my knee.
No flashing, right! Yay!


I love how it flows and how the wind picked it up and how comfy it is!  
I was thinking to buy more of this fabric and make a maxi skirt, but these pants also fit the skirt bill!  

Did I say that I'm in love with it!
💓


💓💓💓


Photo Cred:
Kari Bozeman
@karebearbozeman


Happy Endless Sewing!


Don't want to miss a blog post? Sign up for email notices.


Let's Make and Wear a Kaftan

This post may contain affiliate links. This means that if you click through and make a purchase from these links, I may earn a small commiss...